Players must drive their ball over the creek guarding the first landing area to an open fairway shaped by tightly mown swales of Zorro Zoysia grass which hides a low approach to the first green. Towards the left are a cluster of Mackenzie-styled bunkers shared with the 10th green.
Distance
363 M
Par 4
Index 13
A drivable par-four if you carry the ball over a collection of three bunkers on the right, which will then roll down towards a small green. However, any attempt that veers left will likely meet with a watery end as the fairway slopes sharp and narrow towards a creek running along the hole.
Distance
335 M
Par 4
Index 15
Another short par-four with a majestic waterfall in the backdrop, the difficulty of this hole is the approach to an uphill, inverted green where the landing zone is imperceptible. Land left and a bunker awaits, and anything short will see the ball roll back down.
Distance
339 M
Par 4
Index 11
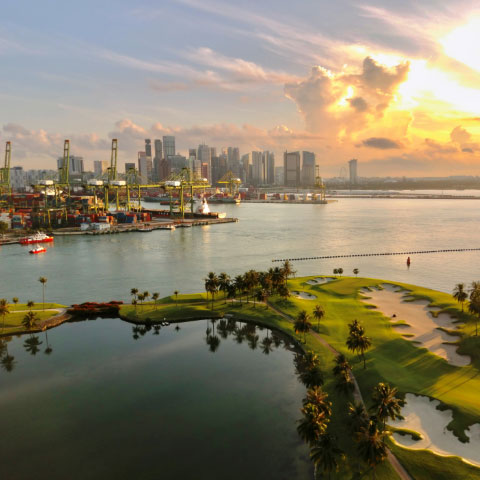
An elevated tee box makes this short par-three one of The Tanjong’s most iconic holes. Surrounded by a panoramic view of metropolitan Singapore, the Southern Islands and the iconic Marina Bay Sands in the distance, the shot to the green must be accurate as there is no bailout area.
Distance
158M
Par 3
Index 17
The first par-five on the front nine is flanked by a long lake feature winding its way up from tee to green. With a narrow fairway to negotiate and an almost full island green that juts out into the lake with three bunkers to its right, it takes a confident shot to approach this hole in two.
Distance
510 M
Par 5
Index 3
This hole plays East and up towards the Pyramid with a magnificent view of Mount Serapong in the background. The landing area is well guarded on the right with a grouping of bunkers. The challenge of the approach is to avoid the cluster of bunkers surrounding a raised green; this green complex creates a challenge for any player’s short game.
Distance
433 M
Par 4
Index 1
The longest par-three on the golf course, it features a creek running down the left-hand side towards the green and joins with a lake behind. The safe play is towards the right as a bunker slides between the green and the creek on the left, especially when the winds pick up.
Distance
238 M
Par 3
Index 9
A long par-four that tests any player’s long game as well as their nerve. A very narrow fairway that winds around a lake on the left and dense forestry on the right. The incentive here is for players to hit long, but they must place the shot to the left for any chance to reach the green as the fairway narrows towards the green.
Distance
481 M
Par 5
Index 7
The majesty of the MacKenzie bunkers is in full view here at this long and challenging uphill par-four. A large fairway bunker surrounds the large landing area to give players the opportunity to reach a deceiving green with a false front, giving you an illusion that it is closer than it seems.
Distance
385 M
Par 4
Index 5
Another hole that runs parallel, this time to the 1st. Separated only by a cluster of trees and sharing the same oversized bunker, hole ten is a straightforward par-four, however, players will need to be accurate with their approach shot to a small green with strong undulation to protect par.
Distance
357 M
Par 4
Index 18
Fairway bunkers protect the right on this hole, but a decent drive should make that avoidable. The fairway undulates greatly so a sidehill or downhill lie may make the approach to a green that inverts sharply to the left a difficult shot to make.
Distance
409 M
Par 4
Index 2
Longer hitters should look to hit above the tall ficus tree to a fairly wide fairway for a shorter approach to the green on this downhill dogleg right hole. A waste bunker lines all the way through the left with a green shielded by a daunting pot bunker in front.
Distance
415 M
Par 4
Index 4
A dogleg left par-five, the tee shot here is key with bunkers left and right protecting the landing zone. Tee up short for safety or go long and centre, short of the bunkers, for a look at the green. A heroic approach could get the longer hitters there in two, but players must be careful; a deceivingly elevated green will skittle over hit shots as it falls away to the back.
Distance
488 M
Par 5
Index 14
A seemingly simple par-four with a generously wide fairway, however, the tree lined tee complex forces players to hit a straight shot, but the challenge here is to select the correct club and yardage as a bunker just short of the green presents an optical illusion of a hole playing longer than it seems. A false front compounds the difficulty, so it is better to be long than short here.
Distance
331 M
Par 4
Index 16
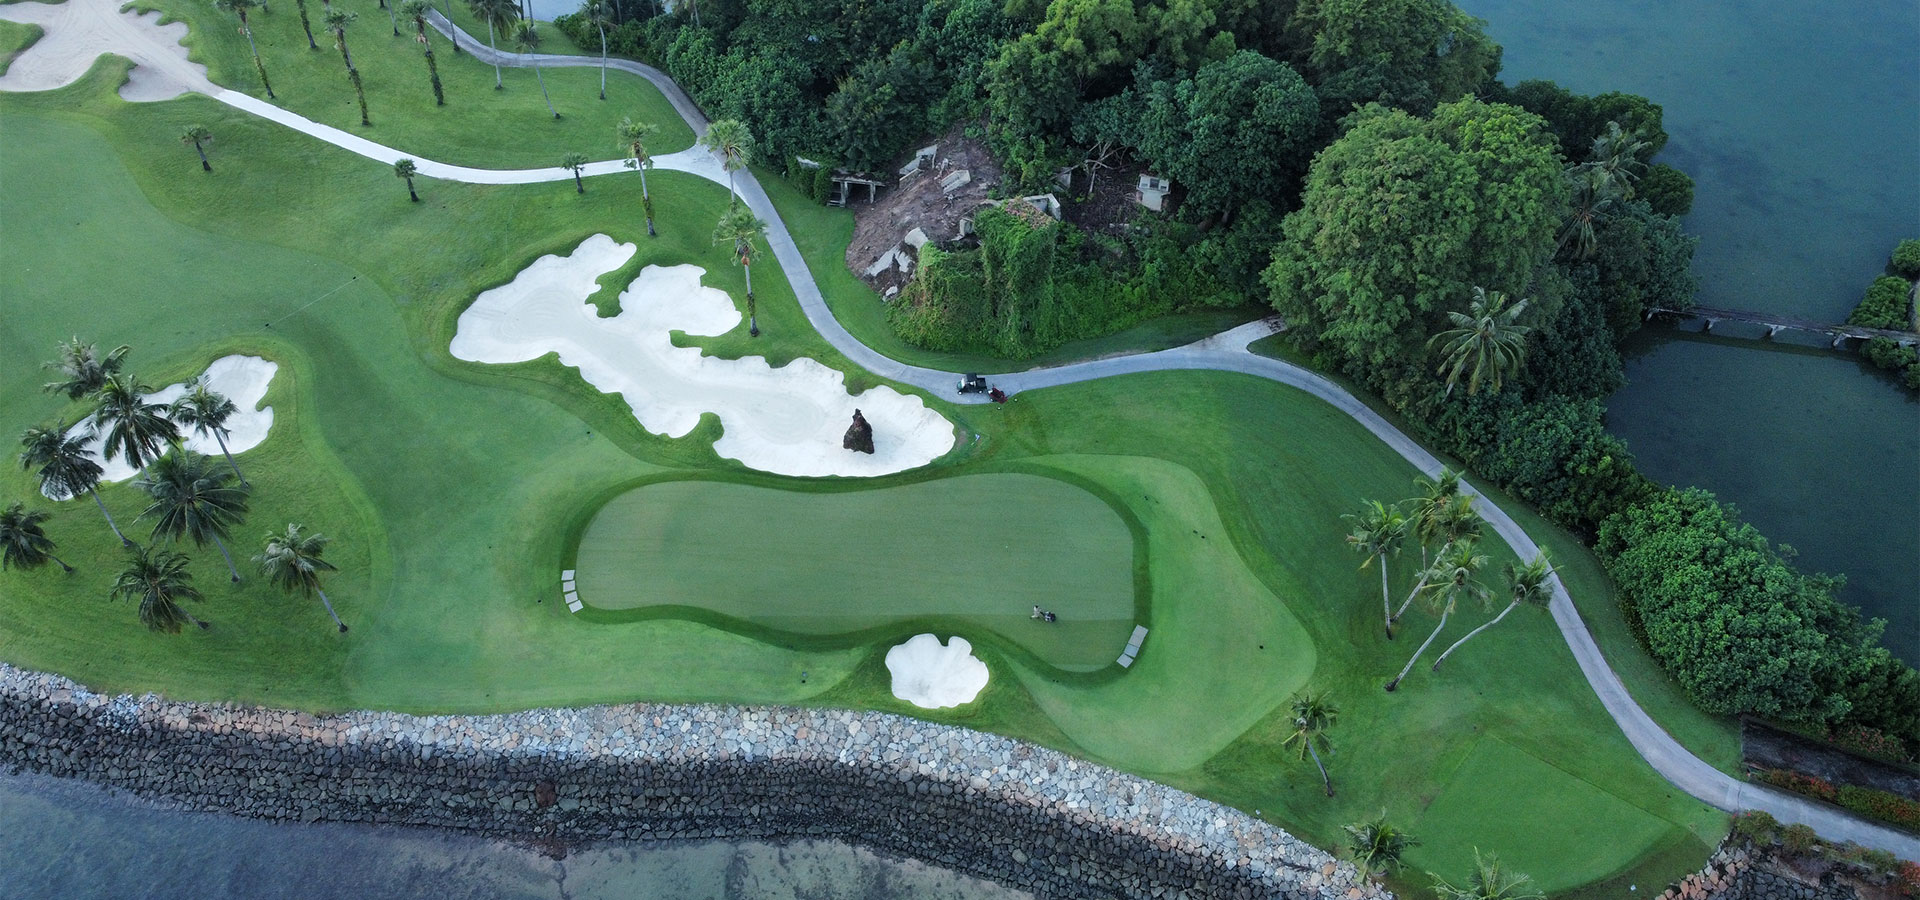
A tricky par-three with a sneaky green that falls fast towards the water on the left and defended by a large bunker. Pin position on any given day will make the difference here, making shot selection a prime consideration.
Distance
184 M
Par 3
Index 10
From the back, the tee shot is compounded by a carry over a stream that flows all the way through to an island green. Two large bunkers cramp a narrow fairway between two landing zones, so the safe play is to the right, especially for longer hitters.
Distance
529 M
Par 5
Index 6
A continuously long, snaking tee box means the hole can play differently on any given day for any tee position. Off the back, the challenge is to carry a water hazard and bunker protecting the green, especially if the pin is well back and left.
Distance
176 M
Par 3
Index 12
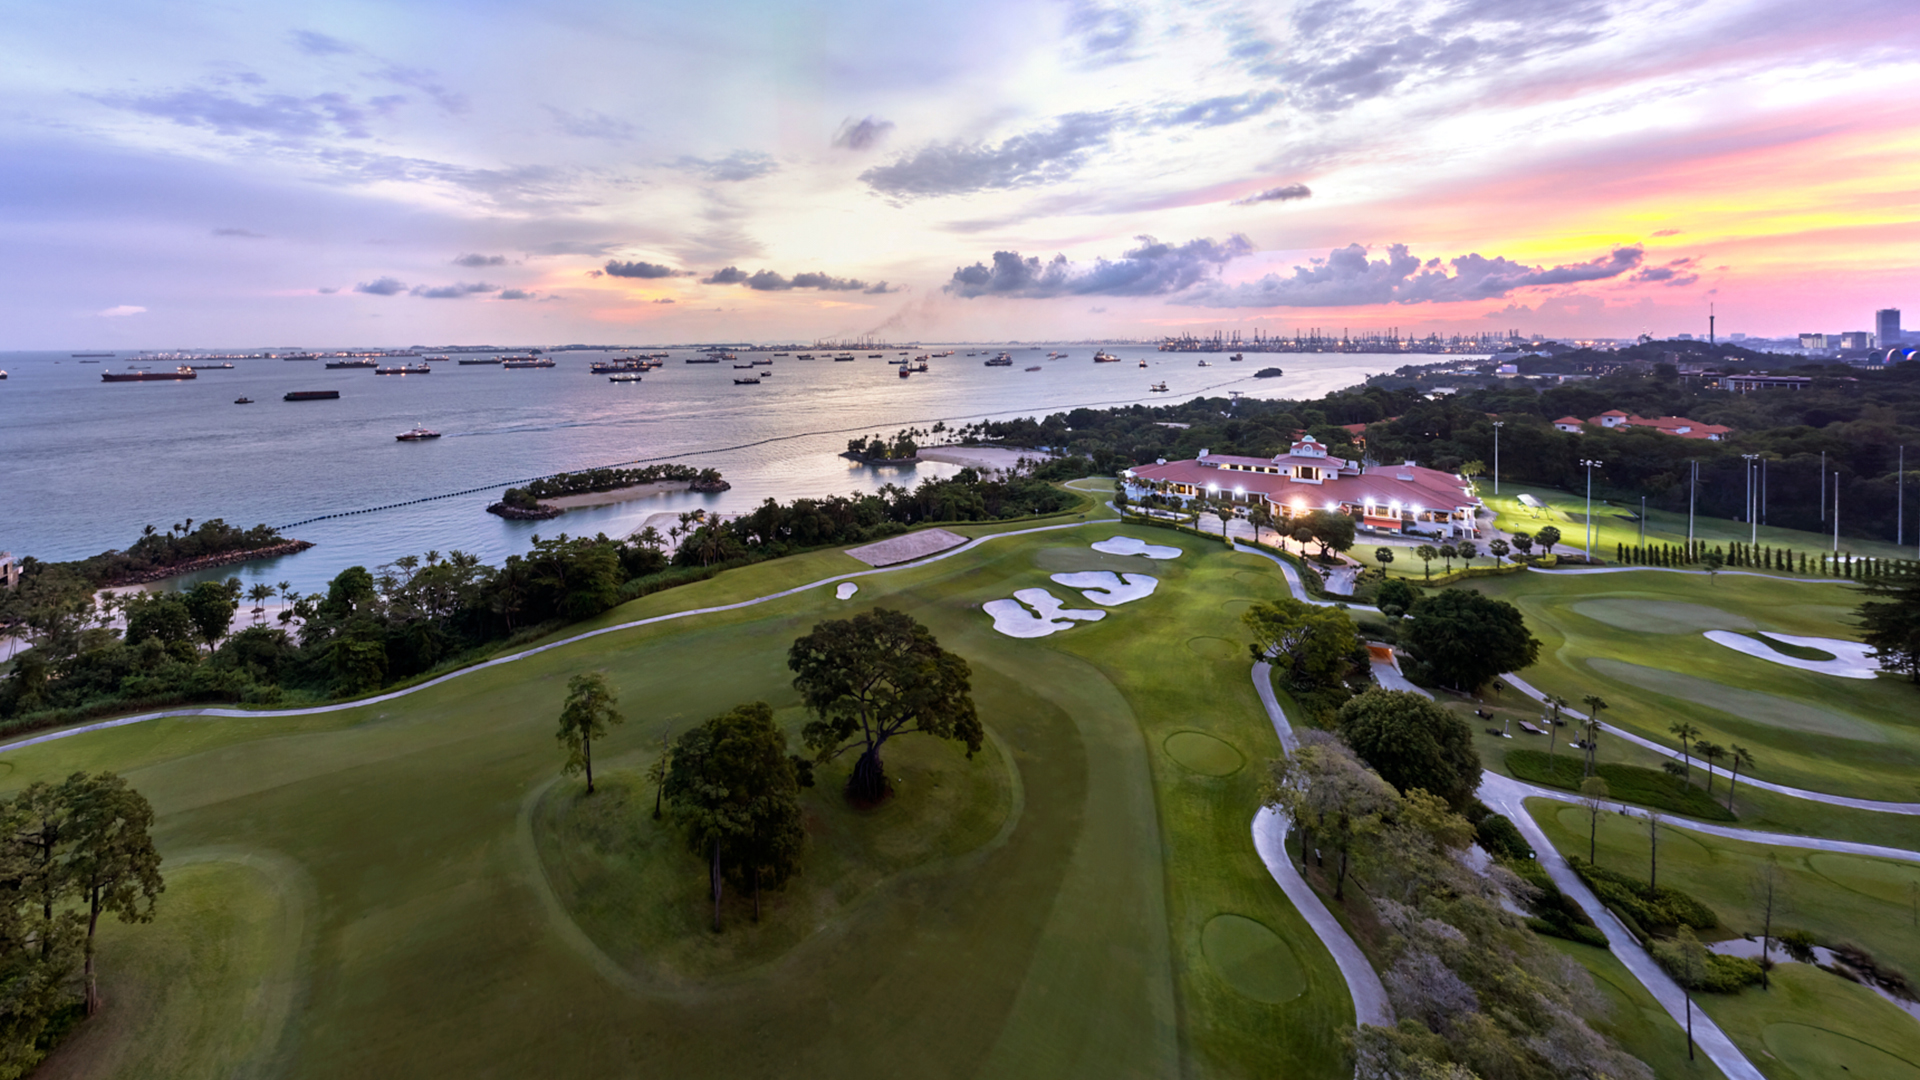
Players should aim their tee shots out towards the clock atop the clubhouse and take the left side. As with many holes on the golf course, the challenge is in the approach shot as a collection of spectacular MacKenzie-styled bunkers cover the area on the right.
Distance
464 M
Par 4
Index 8
Access The Greens Now
Book your tee time on one of Singapore’s best golf courses now.